Improve your swim without swimming
To improve your swimming there to parts to the formula; fitness + technique. Swim fitness is built by spending more time swimming. But the technique isn’t so easy to improve. Professional swimmers constantly work under the watchful eye of a coach on refining and improving technique. But if you have poor mobility, it’s very difficult to improve your technique as you just don’t have the range of motion to get into the correction position to be efficient. This is something I constantly battle with, as for work I spend a lot of time sitting at a desk. Here are 6 stretches to improve your swimming on while out of the pool.
6 Swimming Specific Stretches
1. Hip Flexor Stretch
Why: Tight hips means it’s very difficult to stop your legs dropping in the water. This creates more resistance through the water. By stretching your hip flexors you can better streamline through the water.
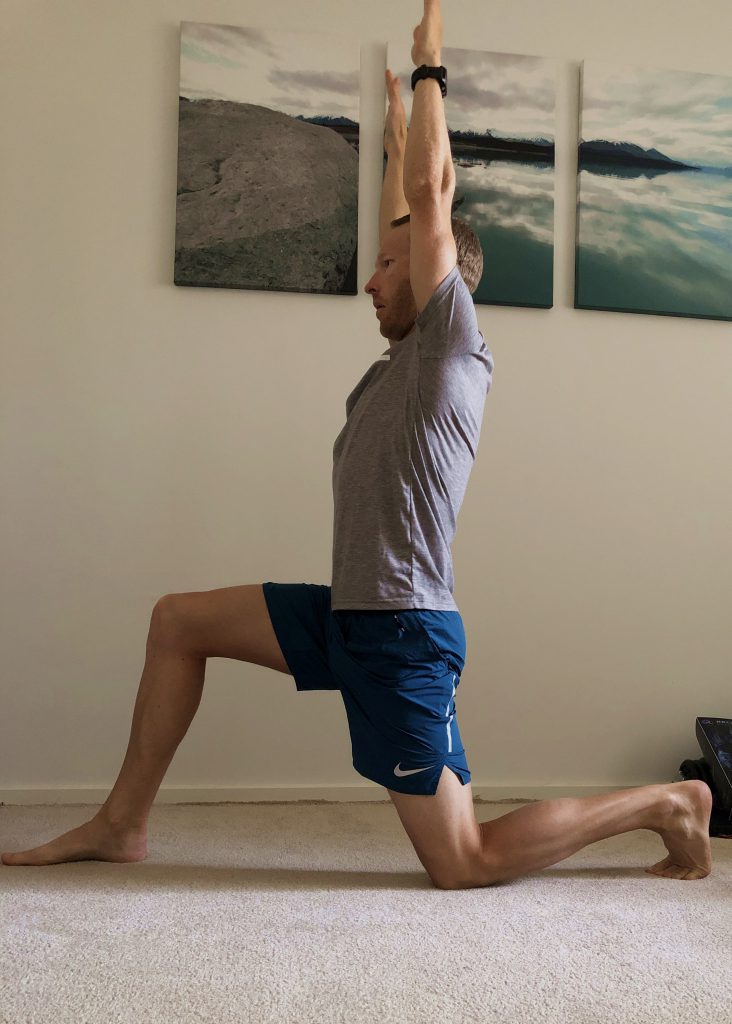
How: Perform a lunge, step forward far enough so that your knee bent no more than 90 degrees. Hold your upper body up tall and with your glute push your hips forward. You should feel the stretch down the front of the leg you are kneeling* on. To get a bigger stretch reach up tall with your arms to the sky. Hold for 30 secs and then swap to the other side.
* kneel on something soft like carpet or a towel to not hurt your knees.
2. Rolling thoracic
Why: Helps to open up your chest and back muscles, relieve muscular tension and maintain thoracic mobility. This helps with your extension when swimming and your catch.
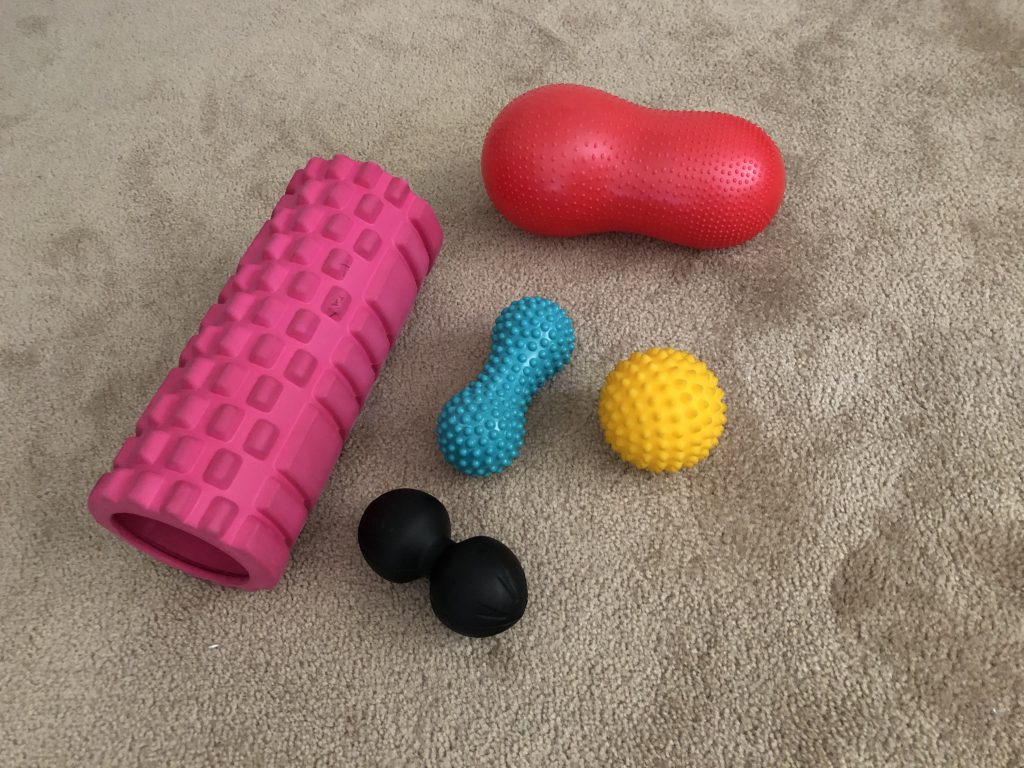
How: Put the foam roller (peanut rollers are ideal) under your upper back / thoracic spine. Place your hands behind your head to support your neck. Keep your knees bent and feet flat on the ground. Slowly up and down your upper back, stopping on any painful parts.
3. Childs Pose into Thunder Pose
Why: Stretches your Hip, Thigh and Ankles. Help reduce drag through the water as you can better point your toes.
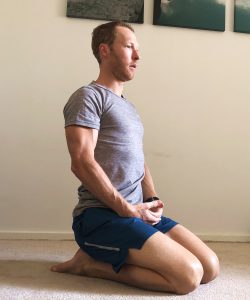
How: Kneeling on the ground, lower the hips to the heels and then your forehead to the floor. Have the knees together or spread the knees slightly apart (whatever is most comfortable). Reach your arms overhead with the palms on the floor, but try to keep your hips down. Hold for 30 secs to a minute. Then place the palms under the shoulders and move up to a seated position, still resting your hips on your heels (this is Thunder pose). You can really feel the stretch in your shins during this position. Hold for another 30-60secs.
4. Side-lying thoracic rotation
Why: Improve mobility in the thoracic spine, lumbar spine, and shoulders. Makes it easier to for extension and to maintain a high elbow position.
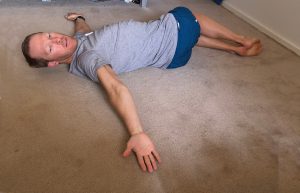
How: Lay on your left side on the ground, with slightly bent knees. Stretch the left arm straight ahead and place the right hand on top. Track your right hand as you reach straight up. Rotate the left arm toward the floor behind you (think drawing an arch). Keep the knees and hips pointing to the left throughout this movement. Bring the right arm back to the right hand. Repeat 8 times before swapping to the other side.
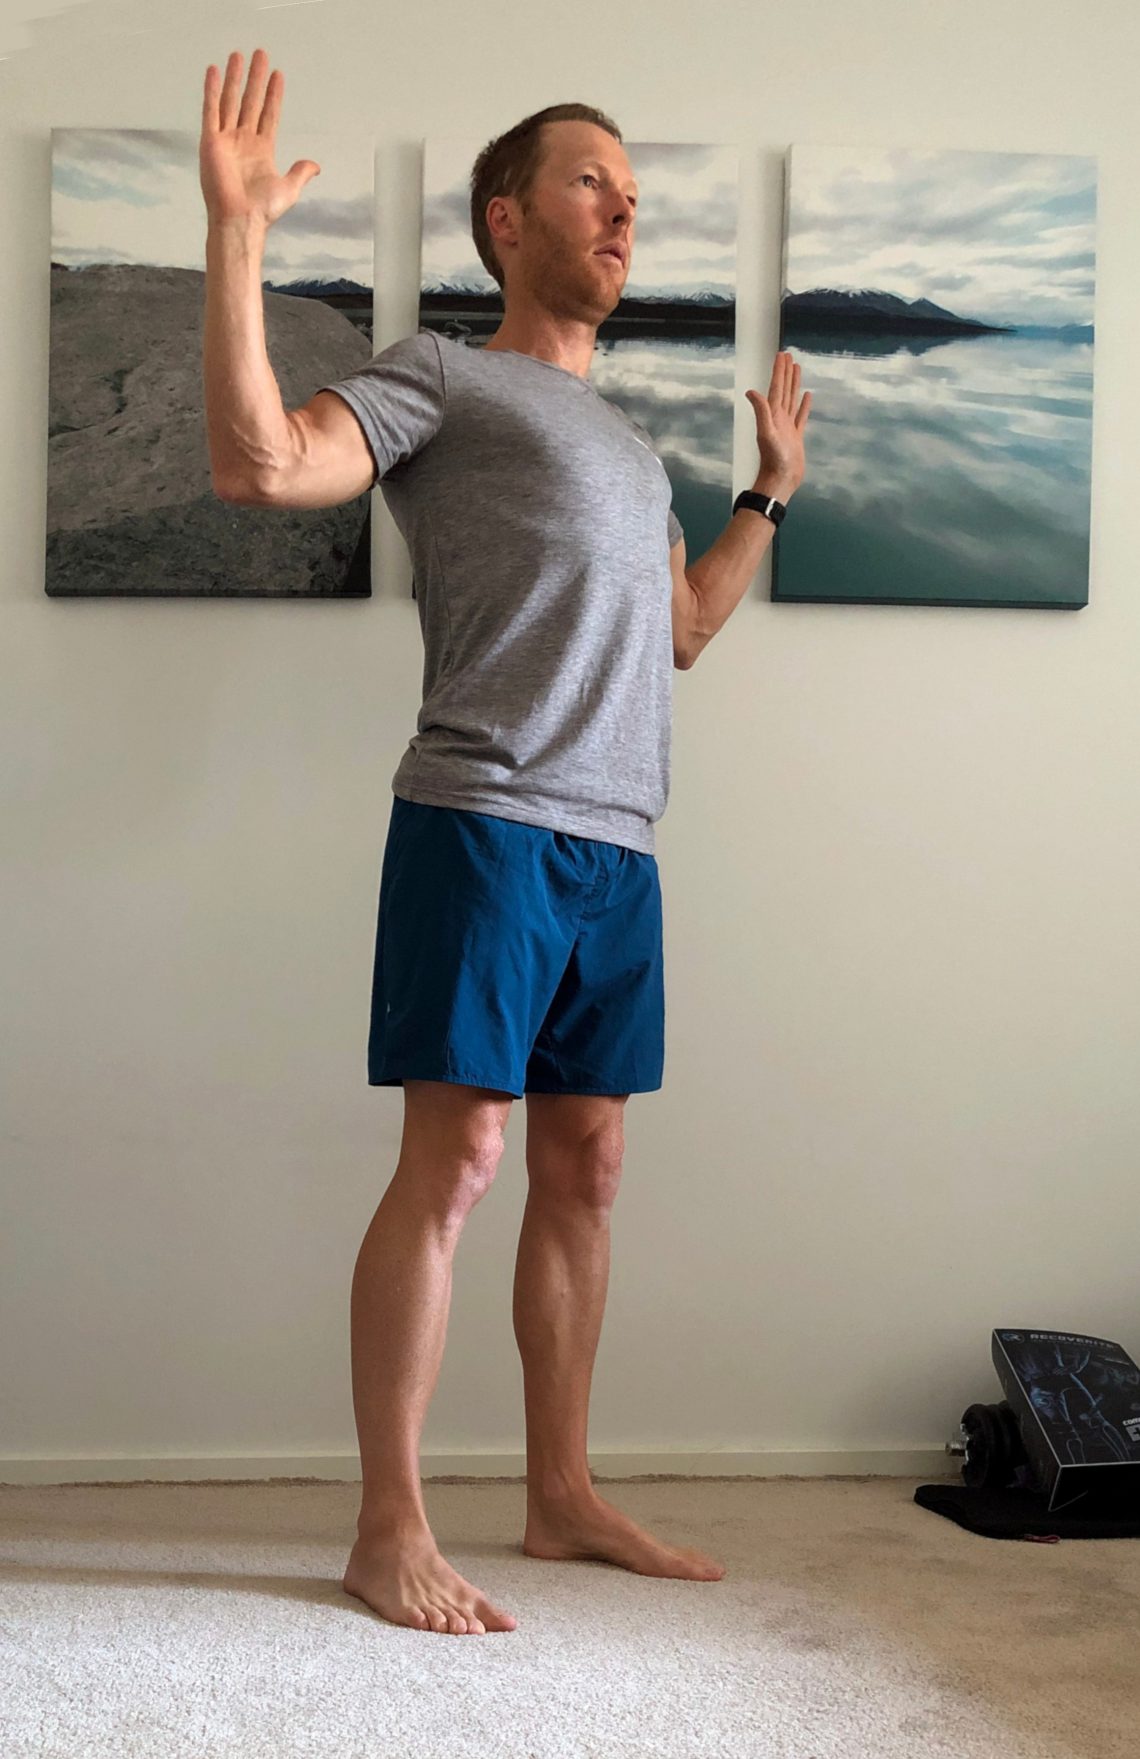
5. Overhead arm stretch
Why: Stretches both the chest and back muscles, plus relieves stress and muscular tension. This helps with your shoulder mobility when swimming.
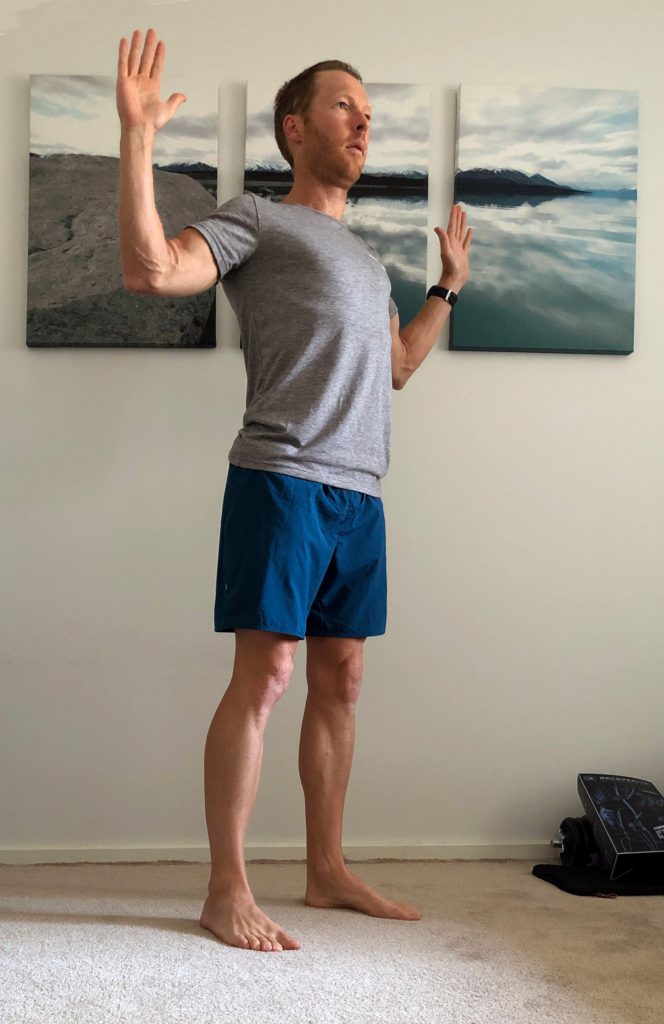
How: Standing up with feet spread shoulder-width apart, reach our arms out to the side. Start with bent elbows at ~90 degrees and your hands pointed upwards, slowly reach toward the sky. During the movement picture a wall behind you, try to scrape your elbows along the wall as you reach upward. Once you reach the top of your reach with straight arms, hold for a few seconds and then slowly release as you exhale and drag your elbows back down along the imaginary wall.
6. Lying on a rolled-up towel
Why: Helps to open up your chest and relieve muscular tension. Improves posture allowing better range of motion and reach.
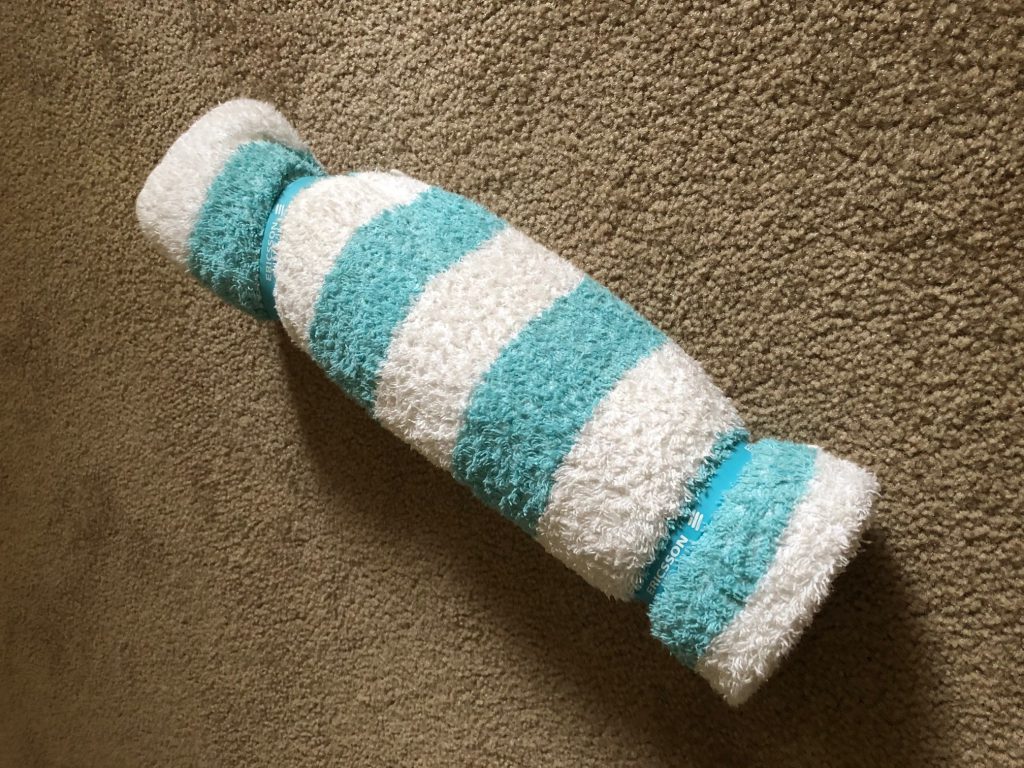
How: Get a towel and roll it up. Wrap something around such as a large rubber band. Place the rolled-up towel on the ground and then rest on top of it with it in the middle of your back. Rest your arms to either side and try to let your elbows touch the ground. You should feel the stretch across your chest.
Summary
Cycle through 2-3 of these stretches each week in your routine over time can see big improvements in mobility. My hip flexors used to be terrible before I started regularly stretching and now after 6 months, I can say my range of movement is good. Rolling and stretching are great habits to form. I challenge you to choose 2 stretches to do each week. 5 mins 2-3 times a week is all it takes, much less time than we spend on social media and better for our wellbeing.


